Hi Everyone!
It's been a while, but I'm back!
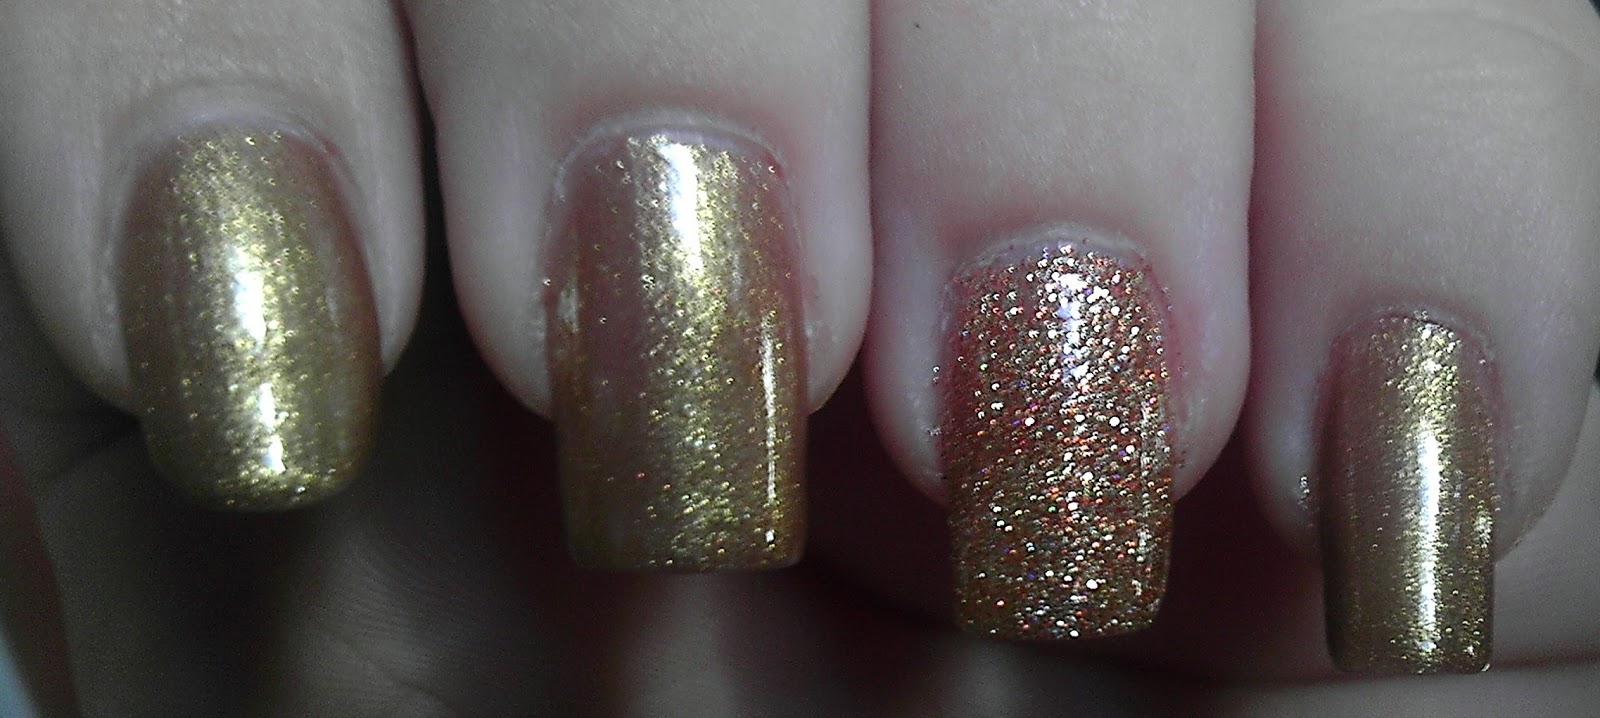
So I signed up for Influenster a while back and I received the Spring Beauty Voxbox with lots of goodies and it happened to include the Sally Hansen Salon Effects in Kitty, Kitty. I was pretty amazed considering it was a free box of goodies to review and I had never tried these before.
(Inside under fluorescent lighting WITHOUT flash)
(Inside under fluorescent lighting WITH flash)
Since I had never tried these or any other brands nail strips, this was a learning experience. The kit came with everything you need. There are 16 strips in total in two packets, one per hand. In each of those packets came with 8 strips varying different sizes for different nails. Make sure your nails are clean before you apply the strips. After cleaning your nails, you have to pull the strip off it's paper backing and put it on your nail with slight pressure. You just file off the excess and ta-da! You're done!
Now that sounds really easy and it really is once you get the hang of it. I also like the metallic look and design I got.
There are some pros and cons though...
Pros are that they are easy to use and once you get the hang of them, they are easier to apply and is quicker. There is no drying time. You can also find these almost anywhere and come in MANY different designs.
Cons are that at $10 a box, that's a little steep for me. I like to change up every few days or I find that I've messed up my nails somehow and it just ruins the whole thing for me. Also, on the ends of my nails on the sides I had a lot of "peel up" and the strips wouldn't stay down. I had to put a topcoat (Orly Won't Chip) on so they would stay down and ultimately last longer.
Would I purchase these in the future? Probably if I found them on sale. They are really quick to do and I love that there is no drying time.
Overall, these are great for someone on the go and wants their nails done quickly! Check them out where-ever you find your local Sally Hansen products!
UPDATE: It's only been about an hour and a half and the sides that were peeling off a bit, are peeling off more and I just had to rip that bit off. I'm not sure why the sides didn't bond to my nail but the rest did. Topcoat didn't help either. :(
~ Emily
*I received these for free as part of the Influenster program.*